How to design your Presentation Folders with Adobe InDesign using Newprint template
1. Download the InDesign template. Go to the Presentation Folders page and choose your product options. Once you have chosen your last option scroll down and click on the Id icon to download the template.

2. Place your design on the Your Design layer.

Do not modify the document dimensions, rotate the dieline or edit the dieline and the artboard in any way.
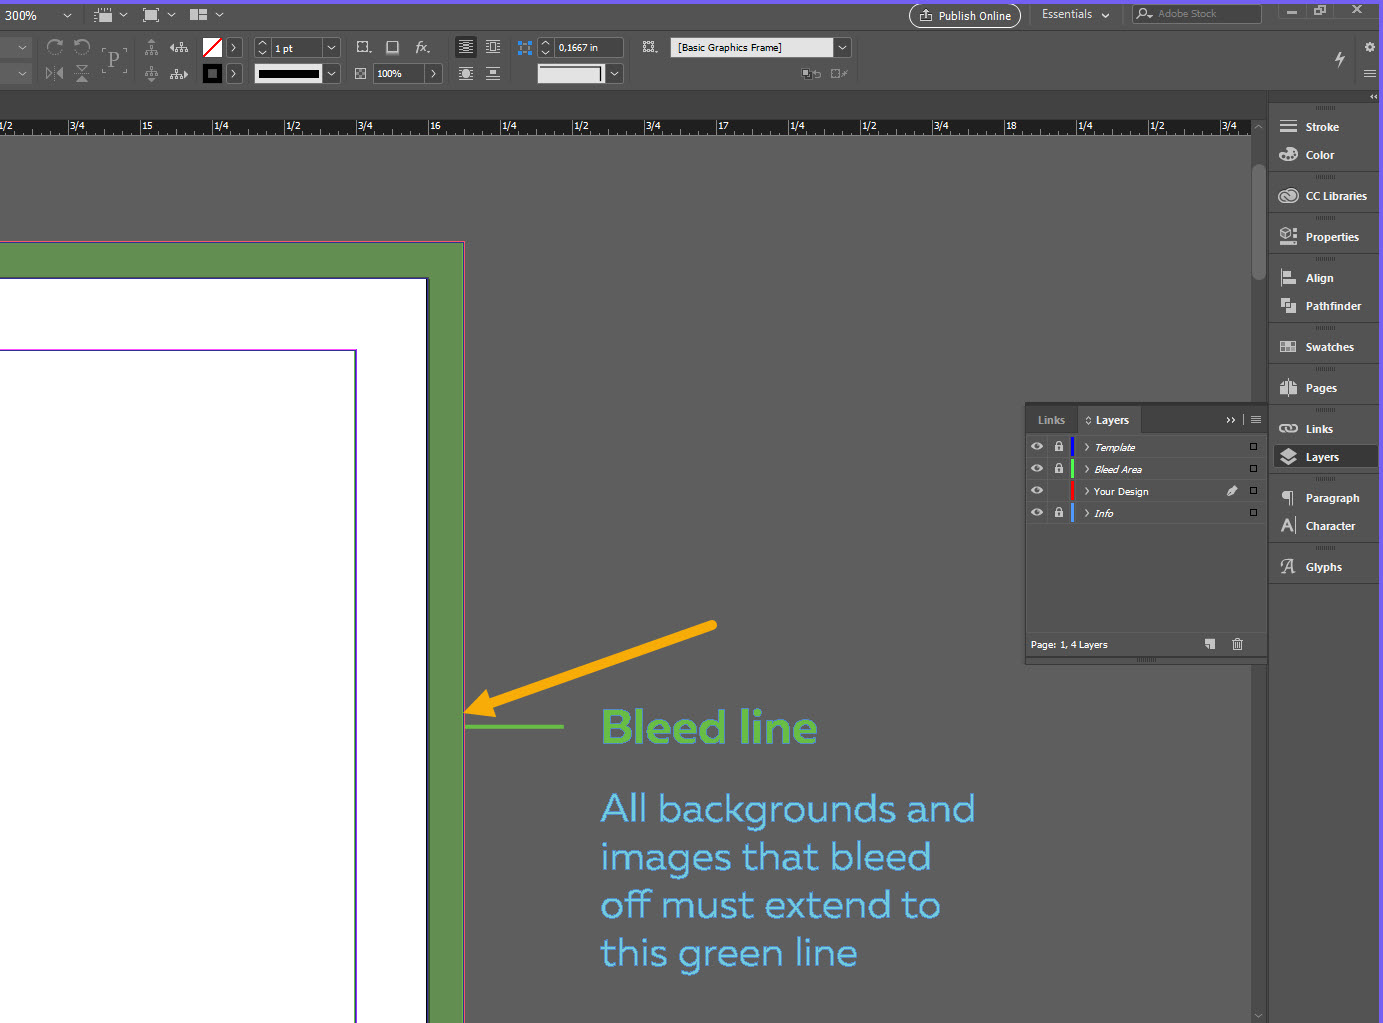
3. All design elements that are supposed to go to the edge of the paper must be extended to the bleed line.

4. Keep all the important design elements (text, logos etc.) within the safe zones.

5. Pay attention to text and graphics orientation. Use our template for reference.
6. Your design should extend only 0.125” into the gluing area. Keep the rest of the gluing area blank.

7. If you use images in your design they must be set to 300ppi resolution and to CMYK colour mode.
8. All strokes should be at least 0.25pt.
9. Borders around the outside edges are not recommended. If your design has borders (frames) near the edges, they must be at least 0.25” away from the edges of the paper.
10. Before exporting your print-ready PDF file, convert all text to outlines.
How to save a print-ready PDF file in Adobe InDesign
1. Turn off the visibility of all template layers. Only leave the Your Design layer active.

2. Go to File / Export. For the file type, choose Adobe PDF (Print). Click Save.

3. On the General tab, choose Press Quality preset. Check All Pages and Export As Pages.

4. On the Marks and Bleeds tab, check Use Document Bleed Settings.

5. Click Export.